
The telecommunications landscape has shifted dramatically over the past few years, moving away from fragile plastic SIM cards toward embedded digital technology. For smartphone users in Sri Lanka, adopting an embedded subscriber identity module means no more fumbling with tiny metal trays or worrying about losing your physical card when switching numbers. SLT-Mobitel, one of the country’s leading providers, has made this technology accessible for both locals and international travelers through its dedicated digital onboarding platform.
If you are looking to secure a digital connection or transition your mobile experience to a modern format, understanding the exact workflow, requirements, and available plans can save you a significant amount of time.
Why Make the Switch to an eSIM?
Before diving into the procedural steps, it helps to understand why digital SIM technology has become so popular. Traditional plastic SIM cards have physical limitations. They occupy valuable internal space inside modern smartphones, can accumulate dust or moisture, and require physical removal if your phone tray gets damaged.
An eSIM is built directly into your phone’s hardware by the manufacturer. It functions identically to a physical card, connecting you to cellular towers, allowing voice calls, processing text messages, and utilizing high-speed mobile data. However, because it is entirely software-driven, you can store multiple profiles on a single device, switch between carriers seamlessly without opening your phone case, and maintain dual-SIM functionality even if your device only has one physical slot. Furthermore, if your phone is ever lost or stolen, an embedded profile cannot be easily popped out by a thief, adding an extra layer of security.
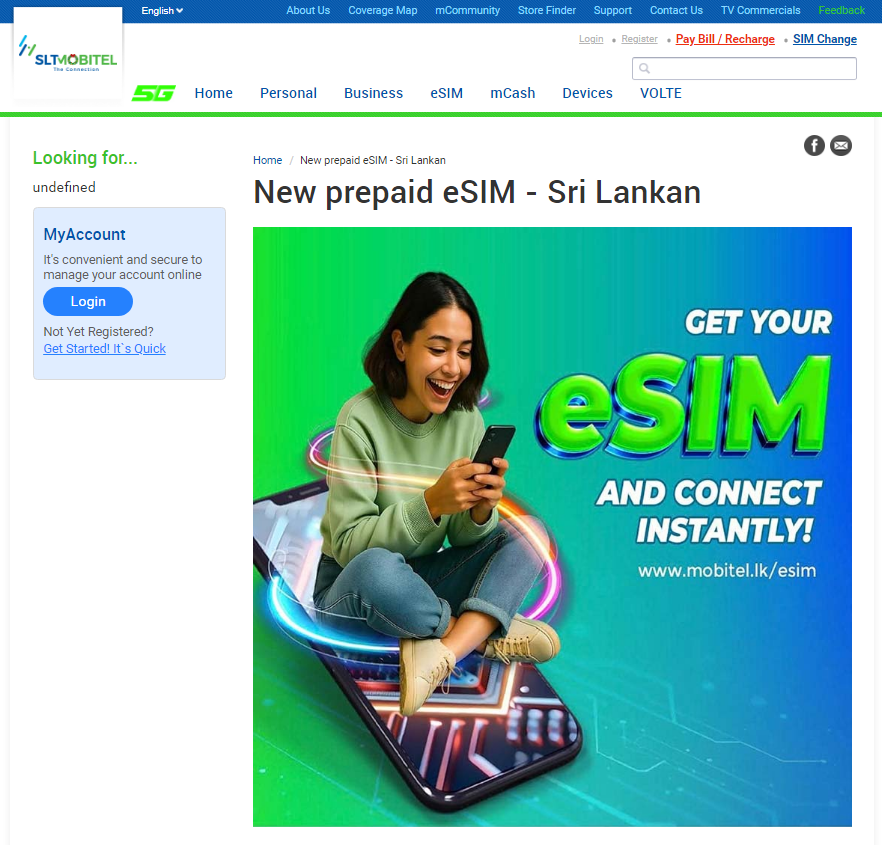
Preparing for Your Mobitel Prepaid eSIM Connection
Before initiating your purchase through the online portal, you need to ensure two major prerequisites are met: device compatibility and document readiness. Check more on the official website: Click here
1. Checking Device Compatibility
Not every smartphone supports digital SIM technology. Generally, flagship and mid-to-high-tier devices released within recent years—including modern iPhones, recent Samsung Galaxy flagships, Google Pixels, and select other Android manufacturers—come equipped with an eSIM chip. You can easily verify compatibility by checking your phone’s cellular settings menu for an option like “Add eSIM” or “Add Cellular Plan,” or by dialing *#06# to check if your device displays an EID (Embedded Identity Document) number alongside your standard IMEI.
2. Gathering Required Documents
Because telecommunications regulations in Sri Lanka require strict identity verification for all mobile numbers, you must provide digital copies of specific identification documents during the online checkout process:
- Valid Identification: A clear digital image of both the front and back of your National Identity Card (NIC) or your valid driving license.
- Portrait Verification: A clear, well-lit selfie captured using the front camera of your computer or smartphone.
- Digital Signature: An image file containing your clear signature.
Having these files ready on your device before heading to the portal prevents session timeouts and streamlines the upload process.
Step-by-Step Procedure to Get Your Mobitel Prepaid eSIM Online
Mobitel provides a streamlined web portal specifically designed to issue new digital connections without requiring an immediate trip to a physical retail outlet.
Step 1: Access the Portal
Open your preferred web browser and navigate to the official SLT-Mobitel eSIM customer portal ([https://esim.sltmobitel.lk/eSimCustomerPortal/#/](https://esim.sltmobitel.lk/eSimCustomerPortal/#/)).
Step 2: Select Your Connection Type
Once the page loads, select the option for a New eSIM connection. At present, Mobitel primarily channels these digital activations into prepaid packages, which gives you complete control over your spending without unexpected post-paid bill shocks.
Step 3: Choose Your Prepaid Package
Mobitel offers several attractive data and voice bundles catering to different usage habits. Depending on your monthly communication needs, you can choose from plans such as:
- Standard Combo: A cost-effective entry option offering generous validity, local voice minutes, SMS allowances, and anytime data.
- 9IN 1 Plus: Tailored heavily toward heavy social media users, featuring dedicated non-stop data allotments for platforms like Facebook, YouTube, WhatsApp, Instagram, and X (Twitter), alongside standard data bundles.
- Higher-Tier Bundles (such as Mobitel 1598 or One Shot 1989): Designed for power users, providing unlimited local voice minutes across any network, large or unlimited standalone data buckets, and extensive multi-platform non-stop access.
Step 4: Complete Identity Verification and Payment
Follow the on-screen prompts to upload your pre-prepared identification documents, selfie, and signature. Once uploaded, proceed to payment using a valid local credit or debit card. Keep in mind that Mobitel carries out verification checks on submitted documents within a 24-hour window. If any document fails to meet compliance standards, you will receive an SMS notification asking you to rectify the issue by visiting an authorized outlet.
Receiving and Installing Your QR Code
Within a few minutes of a successful purchase and initial system check, Mobitel will dispatch an activation email containing a unique QR code to the email address you provided during checkout.
Installing the profile depends on whether you have a secondary device available:
- Using Two Devices: If you have a laptop, tablet, or secondary phone, open the email on that device so the QR code is clearly displayed. Then, go to your smartphone’s settings menu (Settings > Cellular / Mobile Data > Add eSIM), and use your phone’s camera to scan the displayed code.
- Using Only One Device: If you are completing this process entirely on your single smartphone, open the email containing the QR code and take a screenshot of it. Open your native Photos app, pull up that screenshot, and tap and hold directly on the QR code image. A prompt or notification will appear, allowing you to instantly scan and install the profile straight from your photo library.
Managing Your New Connection
Once the profile is successfully downloaded and installed, your phone will take a brief moment to register on the Mobitel network. You can immediately begin managing your account balance, tracking data consumption, and reloading packages.
To check your available data balance on the fly, you can simply dial *#100# directly from your phone dialer. Alternatively, downloading the official Mobitel Selfcare mobile application from the Google Play Store or Apple App Store gives you a comprehensive dashboard to monitor remaining quotas, purchase data boosters, pay utility bills, or manage value-added services.
By bypassing traditional plastic SIM cards, you enjoy a faster, cleaner, and much more flexible mobile experience tailored perfectly to Sri Lanka’s expanding digital infrastructure.
Frequently Asked Questions
Check your phone’s cellular settings for an option to add an eSIM, or dial *#06# to look for an EID number.
You need a clear digital copy of your National Identity Card or driving license, a digital portrait selfie, and your signature.
Mobitel will send an activation email containing your unique setup QR code within a few minutes of successful payment.
You can check your balance directly by dialing *#100# or by using the official Mobitel Selfcare mobile application.
Read more related articles:
How to Activate Mobitel Rs. 697 Data Package via USSD & SelfCare App
Dialog 1599 vs 1299 Package: Complete Breakdown & Which One Should You Buy?